
Replacing a light switch in your home can be relatively easy if you have a basic understanding of electricity and you can use simple hand tools. With that in mind, the work can also be dangerous if you do not do it correctly; you should always seek the advice of a competent person before beginning a project such as this.
We have put together a step-by-step guide to walk you through the process. The Electrical Safety Council offers a free video on their website that you can use in conjunction with this guide.
Before getting into the step-by-step process, it is important to first identify the kind of light switch you have. Whether you are talking about a standard switch or one with a dimmer, there are three primary options used in the UK:

A one-way switch controls a light from a single location only. It is the simplest type of switch to change.
The two-way switch allows for control from two seperate locations. In most cases, two-way switches are mounted at each entrance to a given area.
An intermediate switch is used with two-way switches to allow for light control from three or more locations. Sometimes these are known as three-way switches. They are the most difficult to work with.
It is best to replace your current switch with the same kind. If you do want to upgrade from a one-way switch to either a two-way or intermediate, additional wiring will be required. The following step-by-step process assumes you will be replacing your current switch with a new one of the same type.
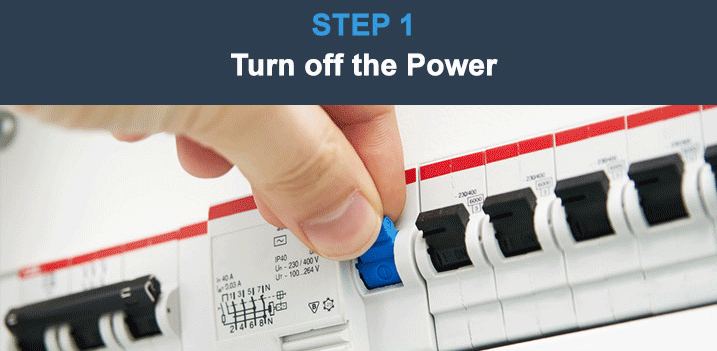
The first step in replacing light switches is to turn off the power. This is easily accomplished by turning on the light in question if possible, then flipping off your fuse switches individually at the consumer unit until the light goes out.
If you are unable to identify the correct fuse at the fuse box, or for peace of mind, you can always turn off the main fuse switch. This will cut all power in the property, so ensure that you have enough daylight to complete the task. Once the power is off you can remove the light switch plate.

With the power off and the faceplate removed, use a meter to test that the power is indeed cut. Before doing this, the voltage indicator first needs to be proven to work on a known live source to ensure that it is working correctly.
Even if all power in the property has been turned off, the light switch should still be tested. Once you have confirmed there is no power to the switch, unscrew it and slowly pull it away from the electrical box so that you can clearly see and identify the wiring pattern.
Do not remove any wires yet, Instead, write down the connectiojn pattern so that you can replicate it on the new switch.

After marking down the wiring pattern, you are free to remove the old siwtch. it is helpful to manoeuvre the wires so that they remain in the same relative position. This will make it easier to connect the new switch.

Now it is time to install the new light switch. Your new switch should either have screws or pinch sockets to attach the wiring. If it has both, you can choose whichever works for you.
Ensure that the cables are tightly connected in the terminal, but not too tight that you go too far through the conductor. Give each core a gentle tug once connected to ensure that the connection is secure. Once your wires are successfully connected, gently guide the switch back into the box and screw it down tightly
Please note that if your system has no earth grounding wire, you CANNOT use a metal switch. Doing so will risk electrocution.

The last step is to replace the switch plate and turn the power back on. Some people will reverse the order just to make sure the switch is working befopre the switch plate is put back on. We recommend you do not do this. It only takes a few seconds to apply the switch plate and, if necessary, remove it again.
As you can see, with a little know how and the right tools, replacing a light switch at home can be a relatively straightforward procedure. Making it as easy as possible hinges on purchasing the right kind of switch to replace the one you are removing.
Howeverm it is only recommended to carry out this kind of job if you are fully confident in being able to complete the work safely. If you are not comfortable with the process, hire an experienced electrician to undertake the work or to check the work upon completion to ensure your safety.

Sources